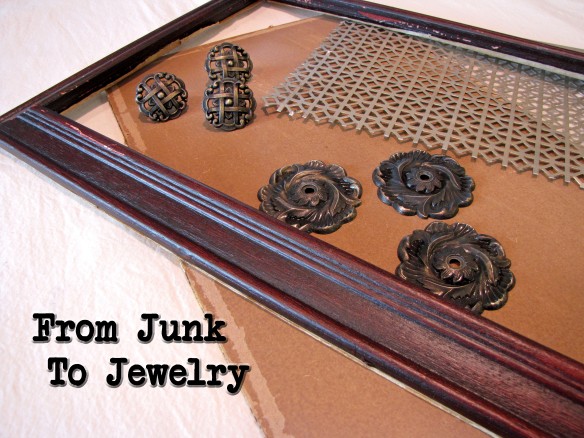
 Having a teenage girl has definitely made me think more about jewelry than I have for a long time. I used to care about jewelry when I was still dating……a million years ago, but now I think my husband is just glad if I show up clean and not smelling of paint. To be completely honest, he’ll still take me out dirty and smelly but only because he doesn’t have many other offers……..not that I do. Anyway, back to the jewelry. I got an idea for a hanging jewelry organizer when I was rummaging through my junk and I thought I’d share the steps I went through to create it, just in case you have some junk laying around too…..oh, and some jewelry. In the above photo you can see what I started with. The frame and back board were originally together as a piece of “art” from Ross. The “art” was ugly so I pulled it out and used the back. I bought it at an estate liquidator place for $5, which is high (I think the guy thought it was “art” too) but he gave me two others for $1 so I’m telling myself I paid $2 for it. Ah, the rationalizations of the hoarder mind. The ugly metal knobs are in two pieces and I found them at a thrift store for 50 cents each. I think the metal screen is used for radiators, but since we don’t have those in San Diego, that may be an urban legend. I found it in my friend’s garage and she let me take it for free. Yay!
 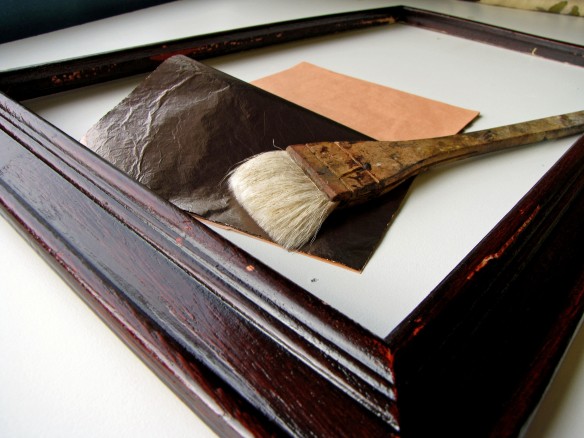 I decided to gild the frame with metal leaf. The first step in gilding is applying gilding size and I always use Rolco Aquasize which is water-based and dries quickly. Gilding size is a watery adhesive that you brush on. The photo above shows the frame after the size was applied, which is why it’s shiny. The metal leaf I used is called Celestial Leaf and the color is Moonbeam. This is a variegated metal leaf, so the color is inconsistent, which I actually love. Celestial Leaf comes in books and each sheet is applied individually.
 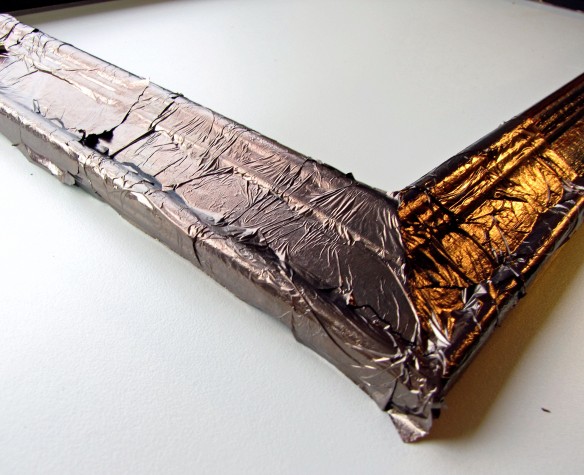 After the size has dried and become tacky, lay a piece of leaf on the surface and push it in to the crevices with a soft brush. Try to not touch the leaf with your bare hands as the oil from your hands can discolor the leaf. When you have the entire surface covered in leaf, smooth it out with a sheepskin pad. If you don’t have a sheepskin pad you can use a really soft rag, but just know that it may scratch the leaf if it’s not truly soft.
 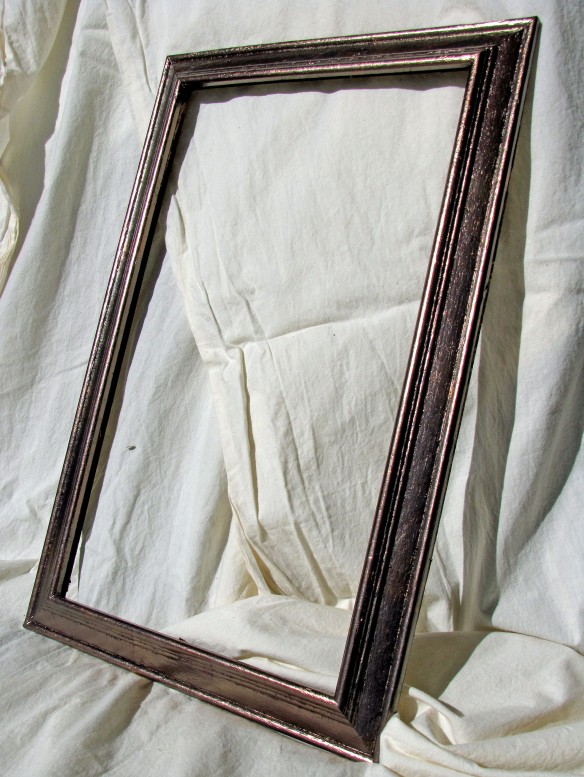 When the leaf is all shiny and pretty you can spray a coat of varnish on it to protect it from tarnish. I really recommend this step if it will be hung near a shower.
 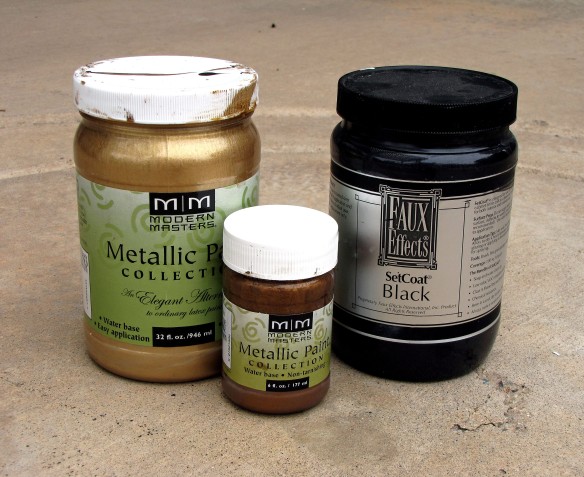 Moving on to the knobs….after cleaning them well, I primed them with Faux Effects Black SetCoat, but you could use any metal primer that works with water based paint. I painted them first with with one coat of Antique Bronze metallic paint from Modern Masters and then a second coat in Pale Gold.
 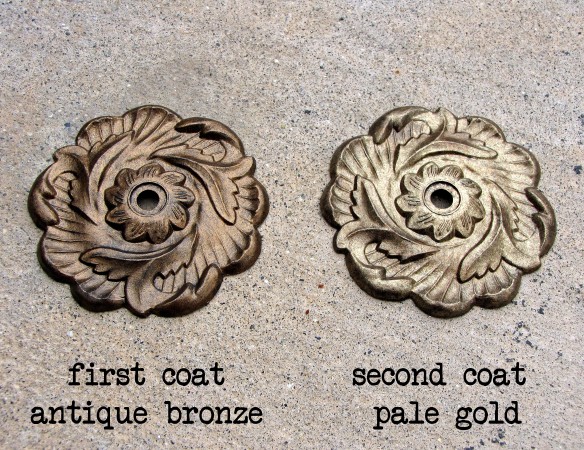 Metallic paint can be fairly transparent which is why I used a black primer. I stippled (fancy word for blobbing on light layers of paint) a thin coat of each color with a small, badly, crumpled artist brush. Use a bad brush so that the pattern is irregular. Smooth brushes leave streaks if you just brush on metallic paint. You can get a better look by stabbing it on randomly, while allowing a little of the black primer peek through.
 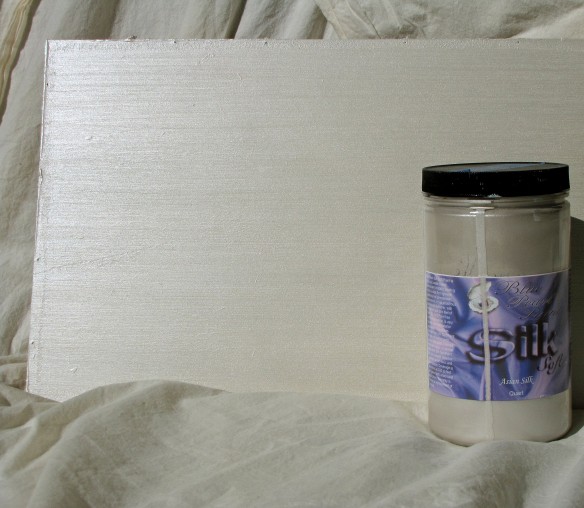 Now for the fun part; the backboard. I sanded the board to get rid of scratches but it was still a little uneven. I decided to hide the blemishes by using this Blue Pearl paint called Silk Soft, in the color Asian Silk. This is a metallic paint that actually has small fibers in it making it thicker and textured to the touch. To amplify this effect I applied it heavily with a rough chip brush in one direction. It looks very much like raw silk and it’s a great background for the next step.
 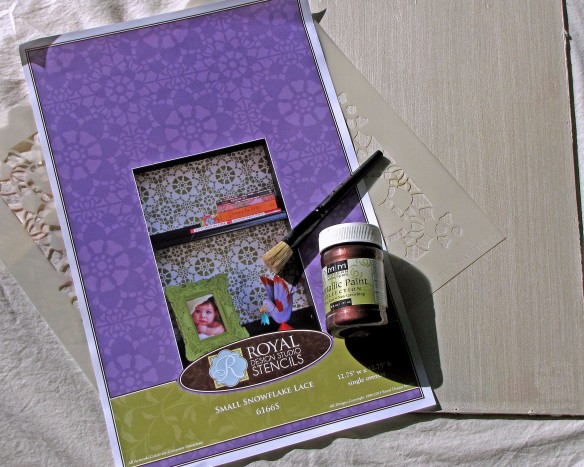 I used a new stencil from Royal Design Studio called Snowflake Lace. Royal Design just released a whole group of lace stencils that are really fun to use. I used Modern Masters metallic paint in Black Cherry and a brush from Royal Design Studio. Please don’t consider doing this with anything other than a stencil brush. Sponge brushes and artist brushes suck and should never be used for stenciling. You can use them, just don’t call me crying about it when it’s hideous. I told you not to use them. Dip your brush lightly in the paint, then rub off the excess paint in a swirling motion on a paper towel until there’s barely any paint on your brush. Swirl your brush lightly on the edges of the stencil openings, working your way into the center of each opening. Lift the stencil to check your progress as you go. It takes very little paint to leave an impression.
 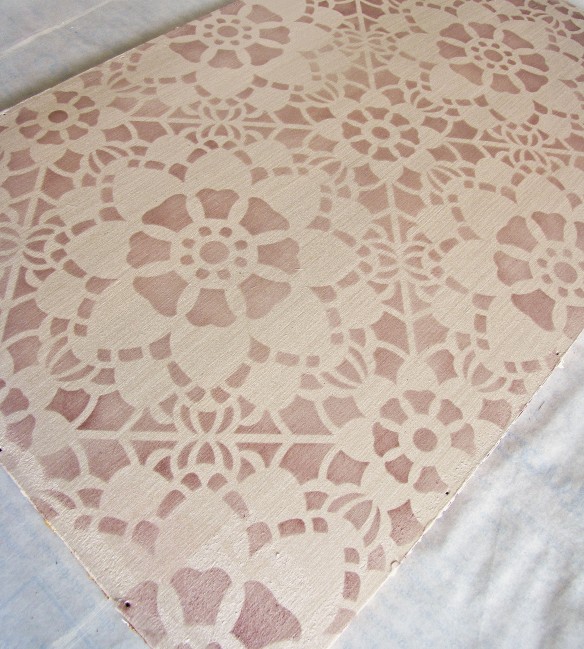 Do you see any blobs of paint? Any ooze under the stencil? No? That’s because I used a proper brush and a very light amount of paint. It’s not rocket science. Just use the right brush for the project, and don’t go heavy with the paint.
 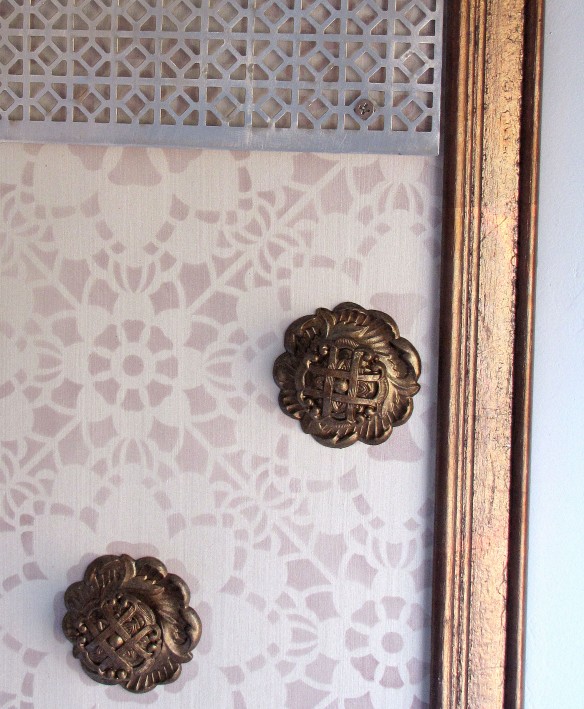 When all the pieces were painted and pretty I put them together. The metal screen didn’t need to be painted, I just sanded off the dullness before attaching it to the backboard. The screen and the knobs were attached with bolts after I drilled holes in the board.
 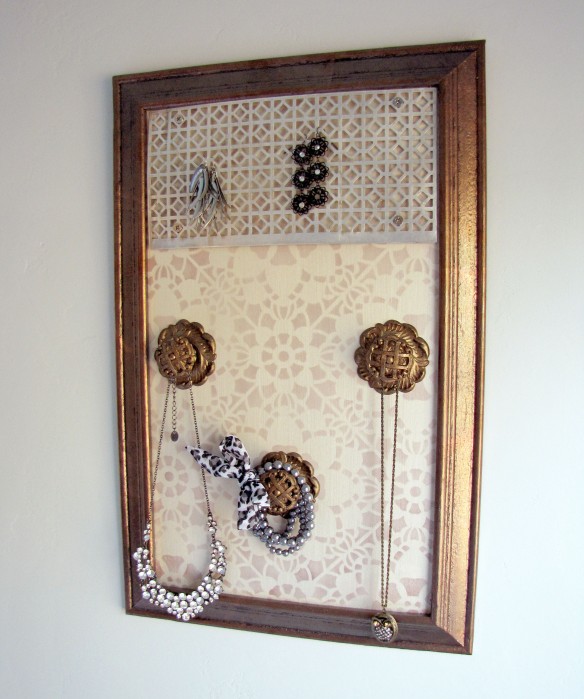 So from pieces of junk I created a great place to organize jewelry. I love how it all came together. It’s for sale in my Etsy shop now if you know anybody that could use a little help with corralling their accessories. This was so fun, I may have to make another one. Inventory used: Metallic paint
Making a Jewelry Organizer From Junk
Reply
