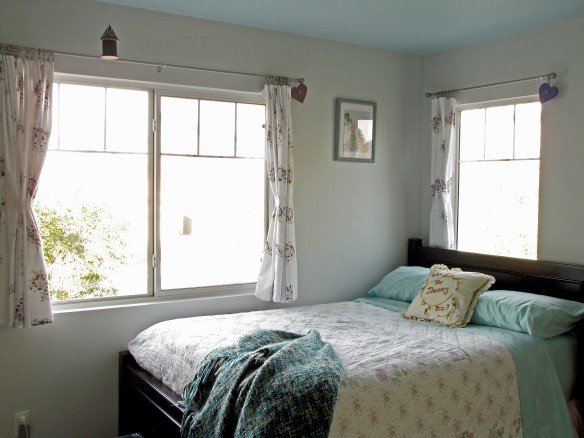
 My daughter chose a color palette of powder grey, lavender and sky blue for her bedroom’s last makeover. As I mentioned earlier, this would be the fourth makeover since she was five. She’s nearly 18 now and wanted to make her surroundings peaceful and serene. The challenge in redoing this room was that the third makeover had made the walls extremely difficult to paint.
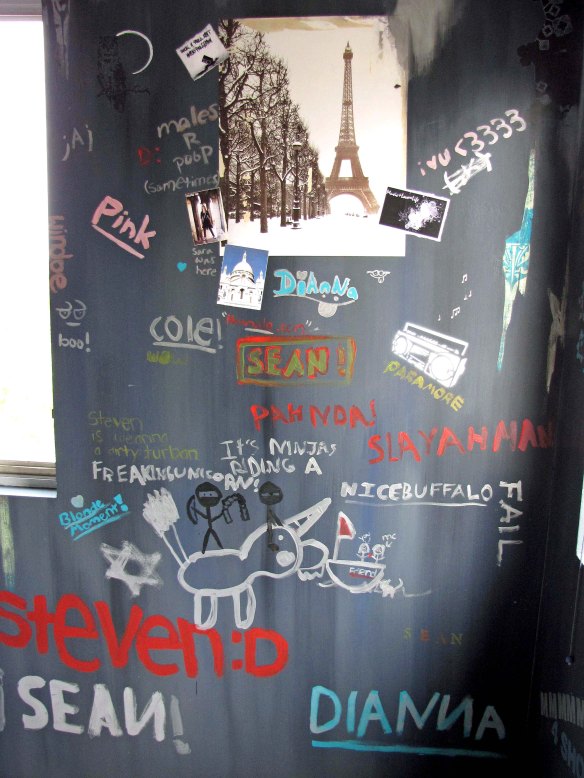 This was what I had to cover up. I had at least been smart in that only water-based products had been used on the walls. I had even found water-based Sharpie paint markers so that the writing wouldn’t bleed through the next layer. The biggest problem was covering up the paper images. Apparently, I really glued those things down. So rather than try to remove them, I decided to plaster over them. I have several gallons of various plaster products in my Stash and this was a great opportunity to use them. I’m not going to tell you what I used because they can’t be bought by the general public, and I didn’t use them the way they were supposed to be used and I really don’t want to give you people any ideas.
 This is what I call “artistic experimentation.” I troweled on different products until I found one that gave me the look that I wanted. I ended up giving the walls a skip-troweled finish which I love. It took me a week to get the walls plastered and even. Once it was sanded and level we finally got to paint.
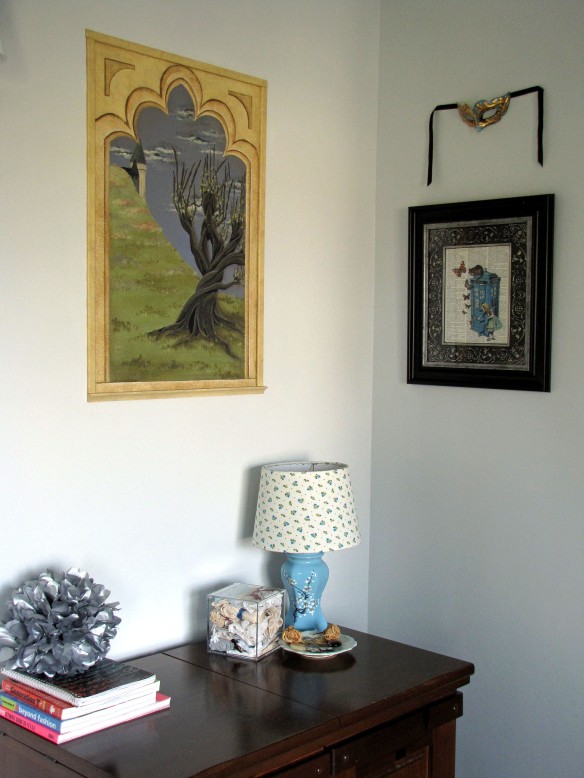 My daughter is still not ready to let go of the Whomping Willow mural I painted two makeovers ago. It originally looked like this:
Then I transformed it to this:
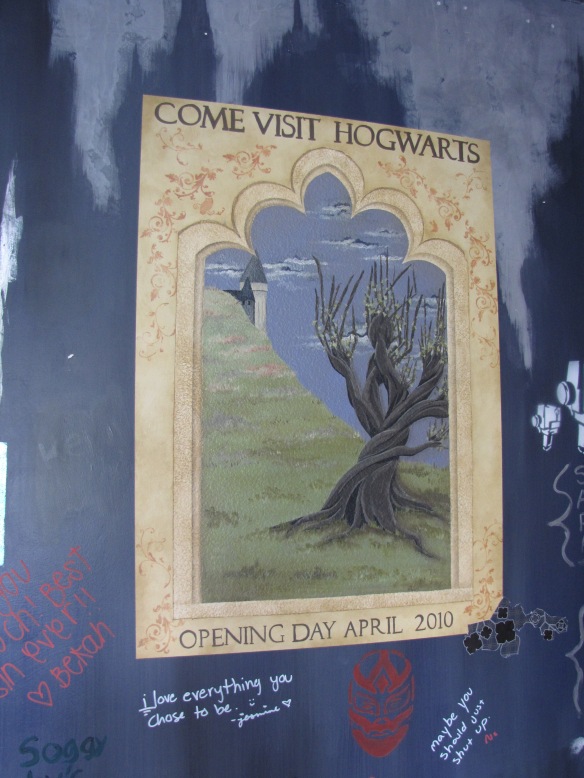 The idea was to make the mural look like an advertising poster for the Harry Potter exhibit opening at Universal Studios in 2010. One mistake I made was stamping those designs in the corners. I didn’t think about what the ink was made of and when I tried to plaster and paint over them, the ink kept bleeding through. It took about 5 coats, no kidding.
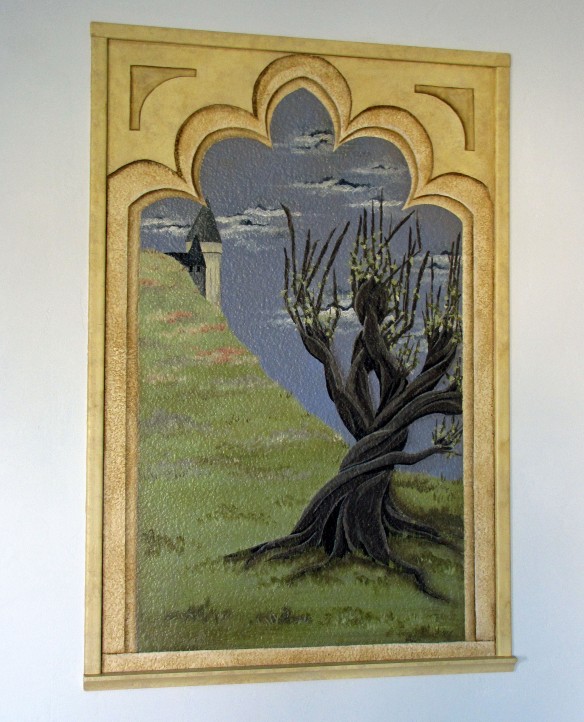 I didn’t like the raw plaster edges around the mural so I ended up cutting wood trim and attaching it to the edges. The bottom piece of trim actually has a small lip like a ledge. I faux finished the trim to match the mural, added some trompe l’oeil details to the top corners and lightened up the color of the frame so that it complements the wall color better. I’m really happy with how it came out.
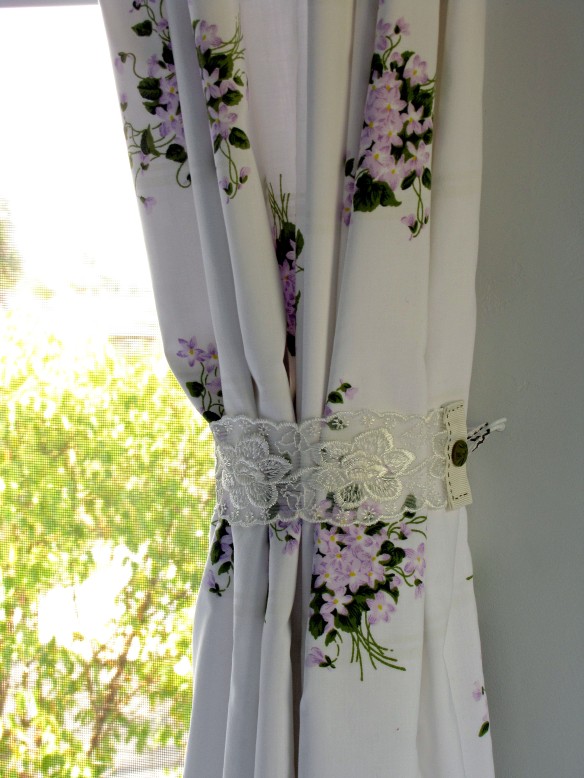 We really lucked out on the day we went shopping for curtain fabric. We went to our local DAV thrift store and these sheets were just sitting there, along with a lavender sheet that I used as a dust ruffle.The curtains were cut from one twin size sheet and one queen size. I lined them with two plain white sheets to block out more light. I think I spent less than $20 on all the fabric. The rods and rings are from Target. I made the tie backs from lace, ribbon and fabric snaps out of my sewing stash. I absolutely love how these look on the windows.
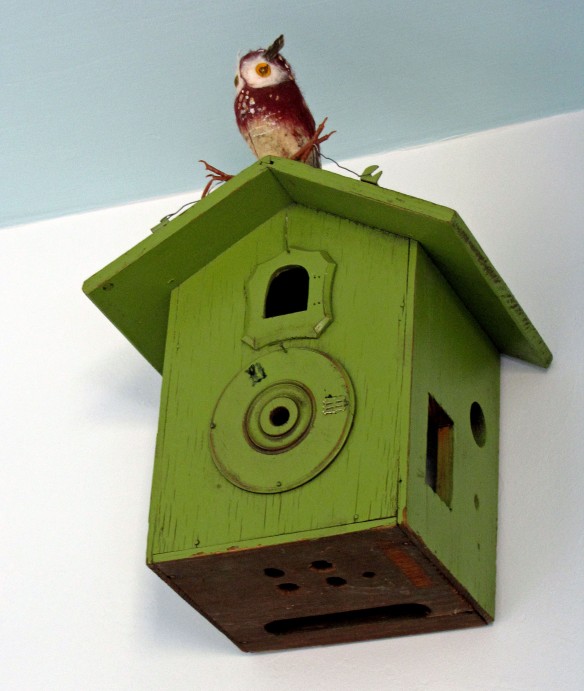 My daughter got rid of a lot of stuff so that the walls would be sparsely decorated and less busy. This is the first room in the entire house that I haven’t added pattern to the walls in one form or another. It’s a new experience, but I think I love it.
Inventory used: 1 gallon faux stone


